How to make Calendula Oil for Dry Skin, Eczema and Natural Healing
Experience Natural Relief from Skin Irritation with Calendula Oil Does your skin feel constantly dry, irritated, or itchy? Eczema flare-ups leaving you frustrated? You’re not alone. Many people struggle with sensitive skin, battling dryness, inflammation, and discomfort every day. But here’s the good news—natural relief is possible! Enter calendula oil, a golden, skin-soothing elixir packed […]

Experience Natural Relief from Skin Irritation with Calendula Oil
Does your skin feel constantly dry, irritated, or itchy? Eczema flare-ups leaving you frustrated? You’re not alone. Many people struggle with sensitive skin, battling dryness, inflammation, and discomfort every day. But here’s the good news—natural relief is possible! Enter calendula oil, a golden, skin-soothing elixir packed with healing properties.
This herbal remedy has been used for centuries to calm irritation, repair damaged skin, and deeply hydrate. If you’re tired of harsh creams and want a gentle, botanical solution, keep reading—because making your own calendula oil is easier than you think!

Why You’ll Love Homemade Calendula Oil
Forget expensive, chemical-laden store-bought skincare—when you make your own calendula oil, you control the quality, freshness, and potency. Plus, it’s packed with skin-loving benefits:
- Soothes Eczema & Dry Skin: Calendula’s anti-inflammatory properties calm redness, itchiness, and flare-ups.
- Heals & Repairs: Speeds up recovery for minor cuts, burns, and rashes, making it a go-to for first aid.
- Gentle Enough for Babies: Perfect for baby massage, diaper rash, and even cradle cap.
- Hydrates Without Clogging Pores: A dream for sensitive skin, helping to maintain a balanced, healthy glow.
- Chemical-Free & 100% Natural: You know exactly what’s going on your skin—just pure, botanical goodness!
Ready to make your own? Let’s dive in!
What You’ll Need
- Dried calendula flowers – Fresh flowers contain water, which can cause the oil to spoil. Drying them first prevents mold growth and ensures a longer shelf life.
- Carrier oil – Choose a high-quality oil like olive oil (deeply moisturizing), sweet almond oil (perfect for sensitive skin), grapeseed oil (light and fast-absorbing), or jojoba oil (balances oily skin beautifully).
- A clean, dry glass jar – A mason jar or any sterilized glass container with a tight-fitting lid works well.
- A fine mesh strainer or cheesecloth – To strain the flowers after infusion.
- A dark glass bottle for storage – This helps preserve the oil’s potency.

Step-by-Step: How to Make Calendula Infused Oil
1. Harvest & Dry Your Calendula
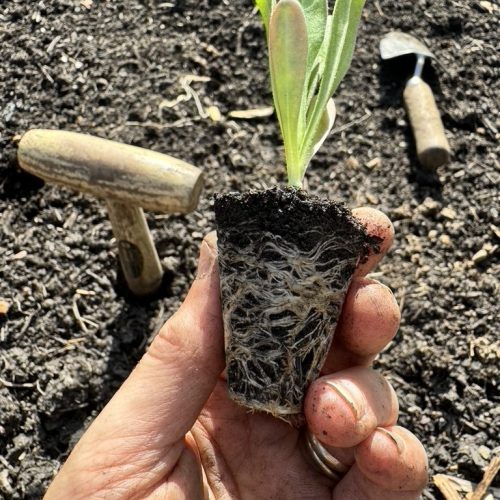
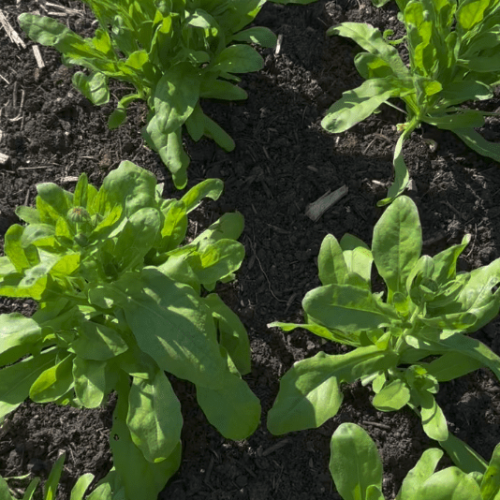
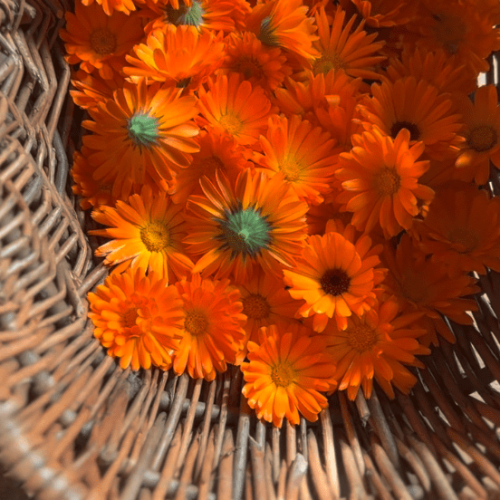
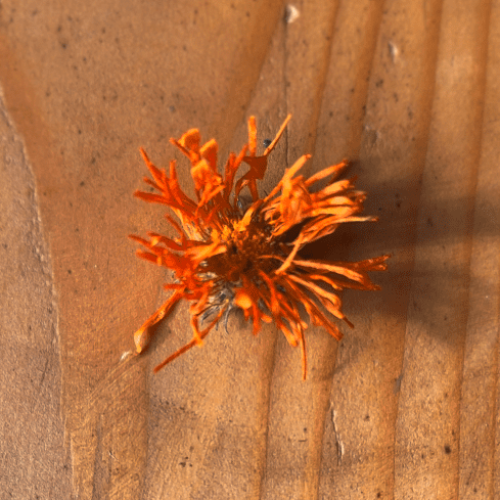
If you’re lucky enough to grow your own calendula, harvest the flowers on a dry, sunny day for maximum potency. Lay them out in a single layer and let them air dry for 1-2 weeks until they’re crisp and papery. No homegrown flowers? No problem! High-quality dried calendula is readily available online or at herbal shops.

2. Fill Your Jar with Flowers
Loosely pack your clean, dry jar about 2/3 full with dried calendula flowers. Give them space—this allows the oil to fully extract all their wonderful properties.
3. Add Your Chosen Carrier Oil
Slowly pour your chosen carrier oil over the flowers, ensuring they are fully submerged. Leave about half an inch of space at the top to allow for expansion.
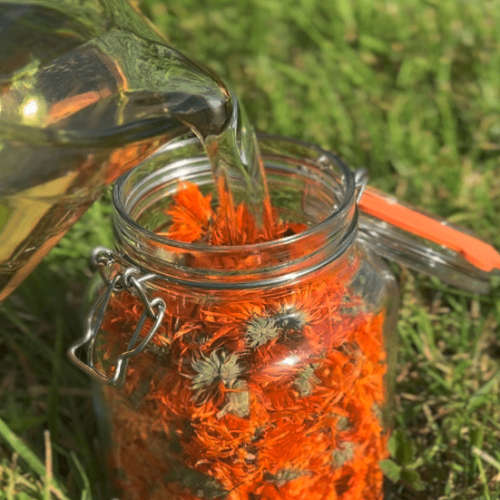
4. Let the Infusion Begin!
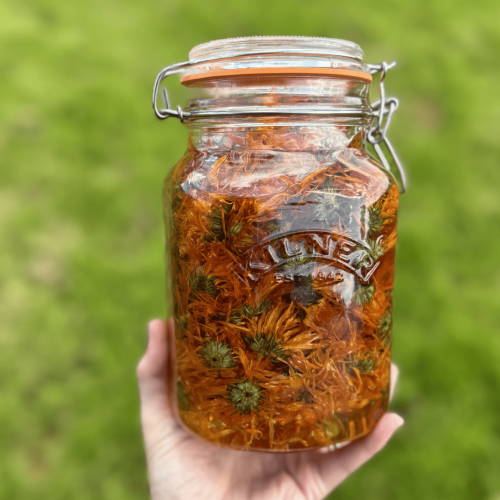
Now, it’s time to let nature work its magic! You have two infusion methods to choose from: a. Solar Infusion (The Traditional Way and My Personal Favourite)- Seal the jar and place it in a sunny windowsill for 4-6 weeks.
- Shake it gently every few days to mix the flowers with the oil.
- The longer it sits, the more potent it becomes!
- Place the jar in a warm water bath or use a double boiler on the lowest heat (around 100°F/38°C) for 4-6 hours.
- Stir occasionally and make sure it doesn’t get too hot—you don’t want to destroy those precious skin-loving compounds!

5. Strain & Store Your Liquid Gold
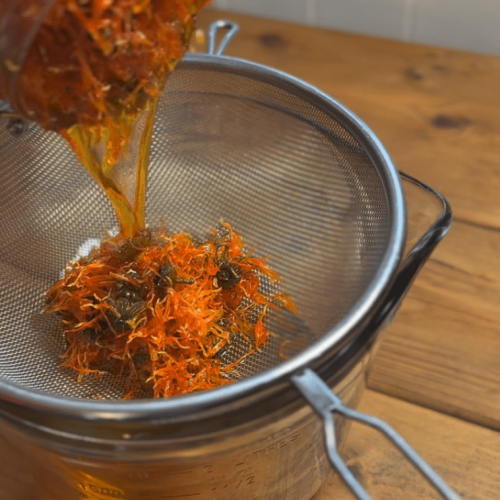
Once your oil is beautifully infused, strain out the flowers using a fine mesh strainer or cheesecloth. Squeeze out every last drop of goodness! Pour the golden oil into a dark glass bottle for storage.
How to Use This Botanical Skin-Soothing Elixir
- Eczema & Dry Skin Rescue: Massage directly onto itchy, irritated patches for relief.
- Gentle Face & Body Oil: Deeply nourish dry skin without greasiness.
- Healing Balm Base: Mix with beeswax to create a DIY healing salve.
- Baby-Safe Skincare: Use it for diaper rash, baby massage, and cradle cap.
- DIY Bath & Massage Oil: Add a few drops to your bath or blend with essential oils for a relaxing massage.
Storage
Store your calendula oil in a cool, dark place—preferably in an amber or cobalt glass bottle to protect it from light. Properly stored, it should last 6-12 months. If it starts to smell off or looks cloudy, it’s time to whip up a fresh batch.
Your Skin Will Thank You!
Making your own calendula oil isn’t just about skincare—it’s about reconnecting with nature, embracing the healing power of plants, and treating yourself to a little DIY self-care magic. Whether you’re using it for eczema relief, baby care, or as an all-around skin-nourishing treat, this oil is pure, botanical bliss in a bottle.
Have you tried making calendula oil before? How do you use it? Drop a comment below—I’d love to hear your experiences!
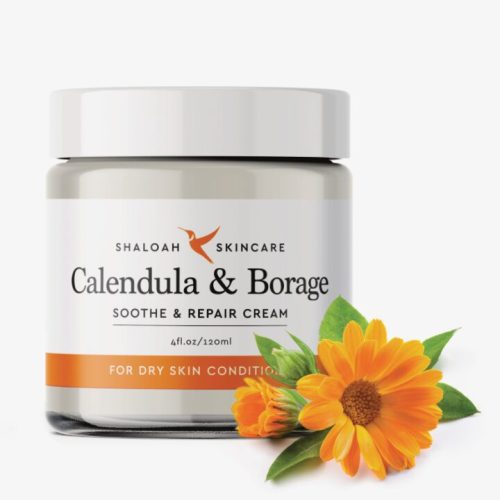
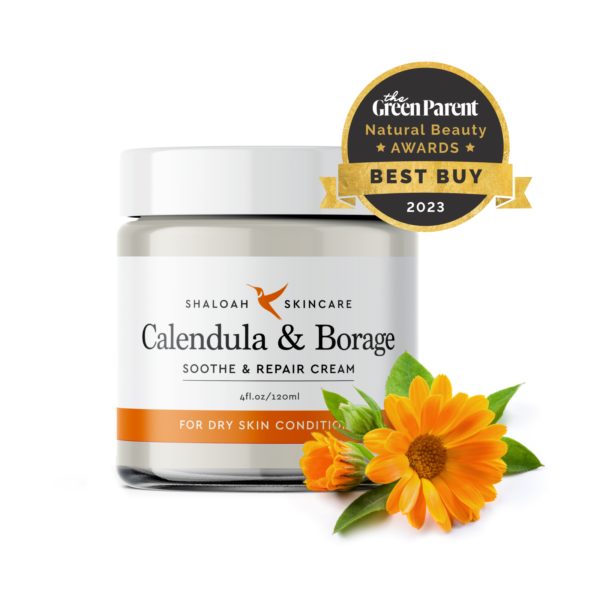
How I Use My Homegrown Calendula in My Soothe and Repair Cream
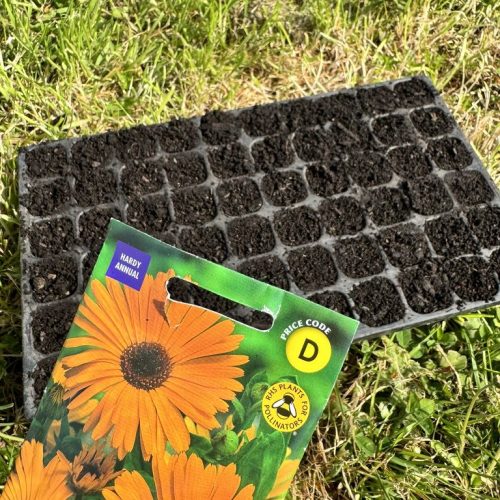
Here in Cornwall I grow calendula from seed, ensuring the highest quality, organic, and ethically sourced ingredients for my products. One of my bestsellers, my Calendula Soothe & Repair Cream, harnesses the power of this golden flower to calm eczema, hydrate dry skin, and speed up healing. Made with my own carefully infused calendula oil, this botanical remedy is a must-have for sensitive skin.
If you want to find out more about this product you can check out my Calendula Soothe & Repair Cream here!

